Qualche mese fa avevamo visto come programmare un WeMos, oggi vediamo direttamente come sfruttarlo assieme al relay (che potete acquistare su Amazon.
La procedura da seguire è sempre la stessa, modificate il nome del vostro hotspot Wi-Fi, la password e cambiate i parametri riferiti all’indirizzo IP statico.
#include <ESP8266WiFi.h>

const char* ssid = "Wi-Fi";
const char* password = "password";

int relayPin = D1; // The Shield uses pin 1 for the relay
WiFiServer server(80);
IPAddress ip(192, 168, 1, 2);
IPAddress gateway(192, 168, 1, 1);
IPAddress subnet(255, 255, 255, 0);
void setup() {
Serial.begin(115200);
delay(10);

pinMode(relayPin, OUTPUT);
digitalWrite(relayPin, LOW);

Serial.print(F("Setting static ip to : "));
Serial.println(ip);

Serial.println();
Serial.println();
Serial.print("Connecting to ");
Serial.println(ssid);
WiFi.config(ip, gateway, subnet);
WiFi.softAPdisconnect(true);
WiFi.begin(ssid, password);
//Trying to connect it will display dots
while (WiFi.status() != WL_CONNECTED) {
delay(500);
Serial.print(".");
}
Serial.println("");
Serial.println("WiFi connected");

// Start the server
server.begin();
Serial.println("Server started");

// Print the IP address
Serial.print("Use this URL : ");
Serial.print("http://");
Serial.print(WiFi.localIP());
Serial.println("/");
}

//void loop is where you put all your code. it is a funtion that returns nothing and will repeat over and over again
//6
void loop() {
// Check if a client has connected
WiFiClient client = server.available();
if (!client) {
return;
}

// Wait until the client sends some data
Serial.println("new client");
while(!client.available()){
delay(1);
}

// Read the first line of the request
String request = client.readStringUntil('\r');
Serial.println(request);
client.flush();

//Match the request, checking to see what the currect state is
int value = LOW;
if (request.indexOf("/relay=ON") != -1) {
digitalWrite(relayPin, HIGH);
value = HIGH;
}
if (request.indexOf("/relay=OFF") != -1){
digitalWrite(relayPin, LOW);
value = LOW;
}
// Return the response, build the html page
//7
client.println("HTTP/1.1 200 OK");
client.println("Content-Type: text/html");
client.println(""); // do not forget this one
client.println("<!DOCTYPE HTML>");
client.println("<html>");

client.print("Relay is now: ");

if(value == HIGH) {
client.print("Engaged (ON)");
} else {
client.print("Disengaged (OFF)");
}
client.println("<br><br><br>");
client.println("<a href=\"/relay=ON\">Click here to engage (Turn ON) the relay.</a> <br><br><br>");
client.println("<a href=\"/relay=OFF\">Click here to disengage (Turn OFF) the relay.</a><br>");
client.println("</html>");

delay(1);
Serial.println("Client disconnected");
Serial.println("");

}
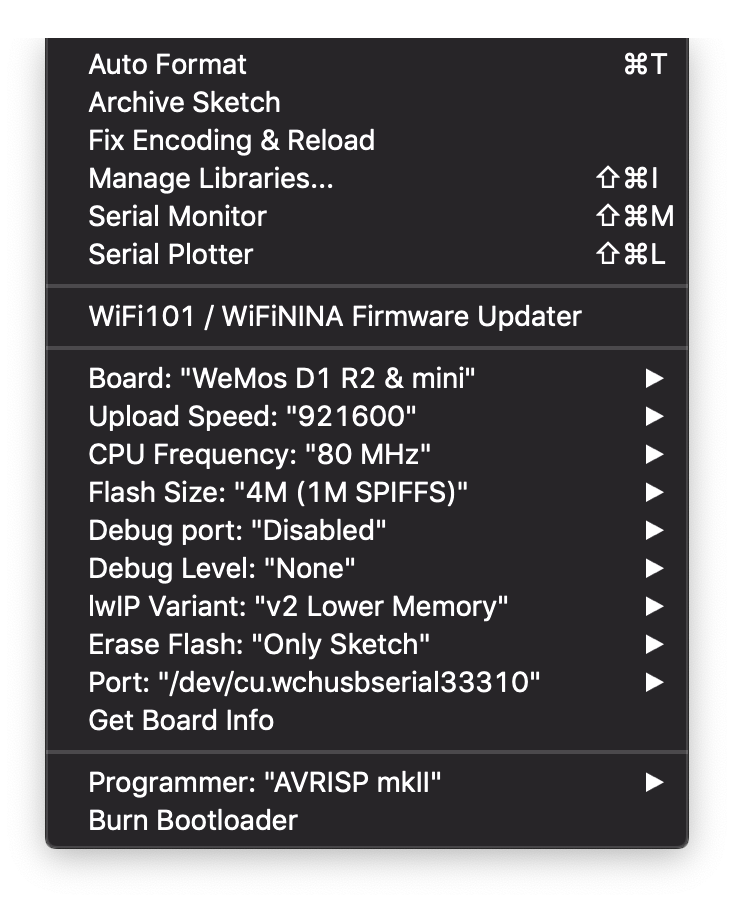
Assicuratevi che la porta di Arduino, prima di uplodare il codice, sia settata in modo corretto con qualcosa di simile: